 Close Menu


We look forward to getting you matched with local professionals. We’ll keep you informed when a pro replies to your project. Also, you can always check your project message from your dashboard.
Please login as a homeowner
How To Install Hardwood Floor Like A Pro
-
 Flooring


11 
Many homeowners dream of having beautiful hardwood floors in their homes. Often times they get quotes from professionals and find out that they can be rather expensive. In most cases, they either settle for less quality or another covering material. In this article, we are going to cover how to install hardwood floors like a pro so you don't have to settle for anything less than what you really want.
Getting Started

We are going to assume that you have already found the perfect hardwood for your space and now are looking for advice on how to install. Also, another assumption we are going to make is that you are buying prefinished hardwood.
Buying the right amount of material
Now that the assumptions are out of the way lets start by discussing how to determine the proper amount of material. You will need to measure the width and length of the rooms you will be installing the hardwood in. In this article, we are going to use a simple example such as 20 ft wide by 20 ft long. Multiply the two measurements to get the total square feet. In this example, we have 400 sq ft. Most pro installers will tell you that if you buy just 400 sq ft you will not have enough material to cover the floor. You should always factor in at least 10% for waste material. So in our example that would be 400 x 1.10 = 440 Sq Ft total.
The Acclimation process
It's important to allow the flooring to acclimate to the climate it is being installed in before nailing and/or gluing it to the floor. So this is the first step once you get the product to your job site. Store the hardwood in the room(s) where it will be installed for a minimum of three days.
Gathering tools
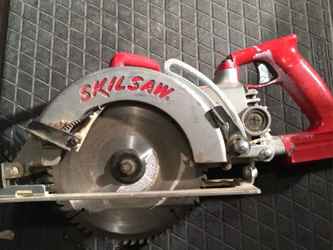
Yes, this can be done with a hand saw and glue but it's not recommended. We recommend having at least a table saw and if possible a miter saw. The miter is best for making those cross-board cuts and the table saw is almost required for those long rips as you are finishing the project at a wall. A jigsaw would work and in some cases might be a very useful tool to have on hand. This is good for cutting circles and odd shapes to make a plank fit right. One other saw that a lot of professionals use at doorways and openings is called a jamb saw. Most likely as a do it yourselfer you don't have this in your toolbox. However, if you have a lot of doorways to lay around we highly recommend renting one of these saws to cut the space in the door jambs so your hardwood can slide into space. This will give you the look of a professional installation.
With the saw recommendations behind us, let's talk about other items you will need. We highly recommend nailing/stapling and gluing the floor down to prevent squeaks as the years go by. You have a couple of choices here. An air nailer and a battery-operated or electric nailer. Either will work for you just fine. If you don't have a portable air compressor then the battery/electric options might be your best option. You can rent floor nailers for your local hardware rental store.
You should invest in a nice 2 sided rubber hammer. You will need this to knock the planks into the correct position. Grab a nice set of knees pads while you are at the hardware store because you will be spending a lot of your time on your knees while installing. There is a tool that is called a pull bar be sure to add that to your cart. You will need that in tight places.
If you are gluing the floors you need to purchase a spreader. This is a trowel with groves in it. You can find this in the area where they sell tile or possibly in the drywall accessories. Consider grabbing a pair of gloves while you are at it. It's not required but highly recommended.
Probably the most important tool you will need is a good quality tape measure. One that you can extend out several feet without it folding over. Please don't go cheap on the tape measure, it is your best friend. You might even consider a contractor's square to help with lining certain cuts.
Installing the floor
You should start by prepping the area. Cleaning the subfloor and ensuring it is clear from all debris. You may choose to install in a sound damper if you are not gluing the floor down. This will help protect the flooring and provide a softened step sound.
In our opinion, the most important step to a professional-looking install is finding the right starting point. If you just start anywhere without consideration to where the floor covering will end up it might not meet your expectations visually. Marking off your floor and doing a dry run is a common practice among the top professionals. Every project will have a unique starting point. Keep in mind that if you running parallel to the walls you would want to keep the flooring as square as possible to create a professional-looking install.
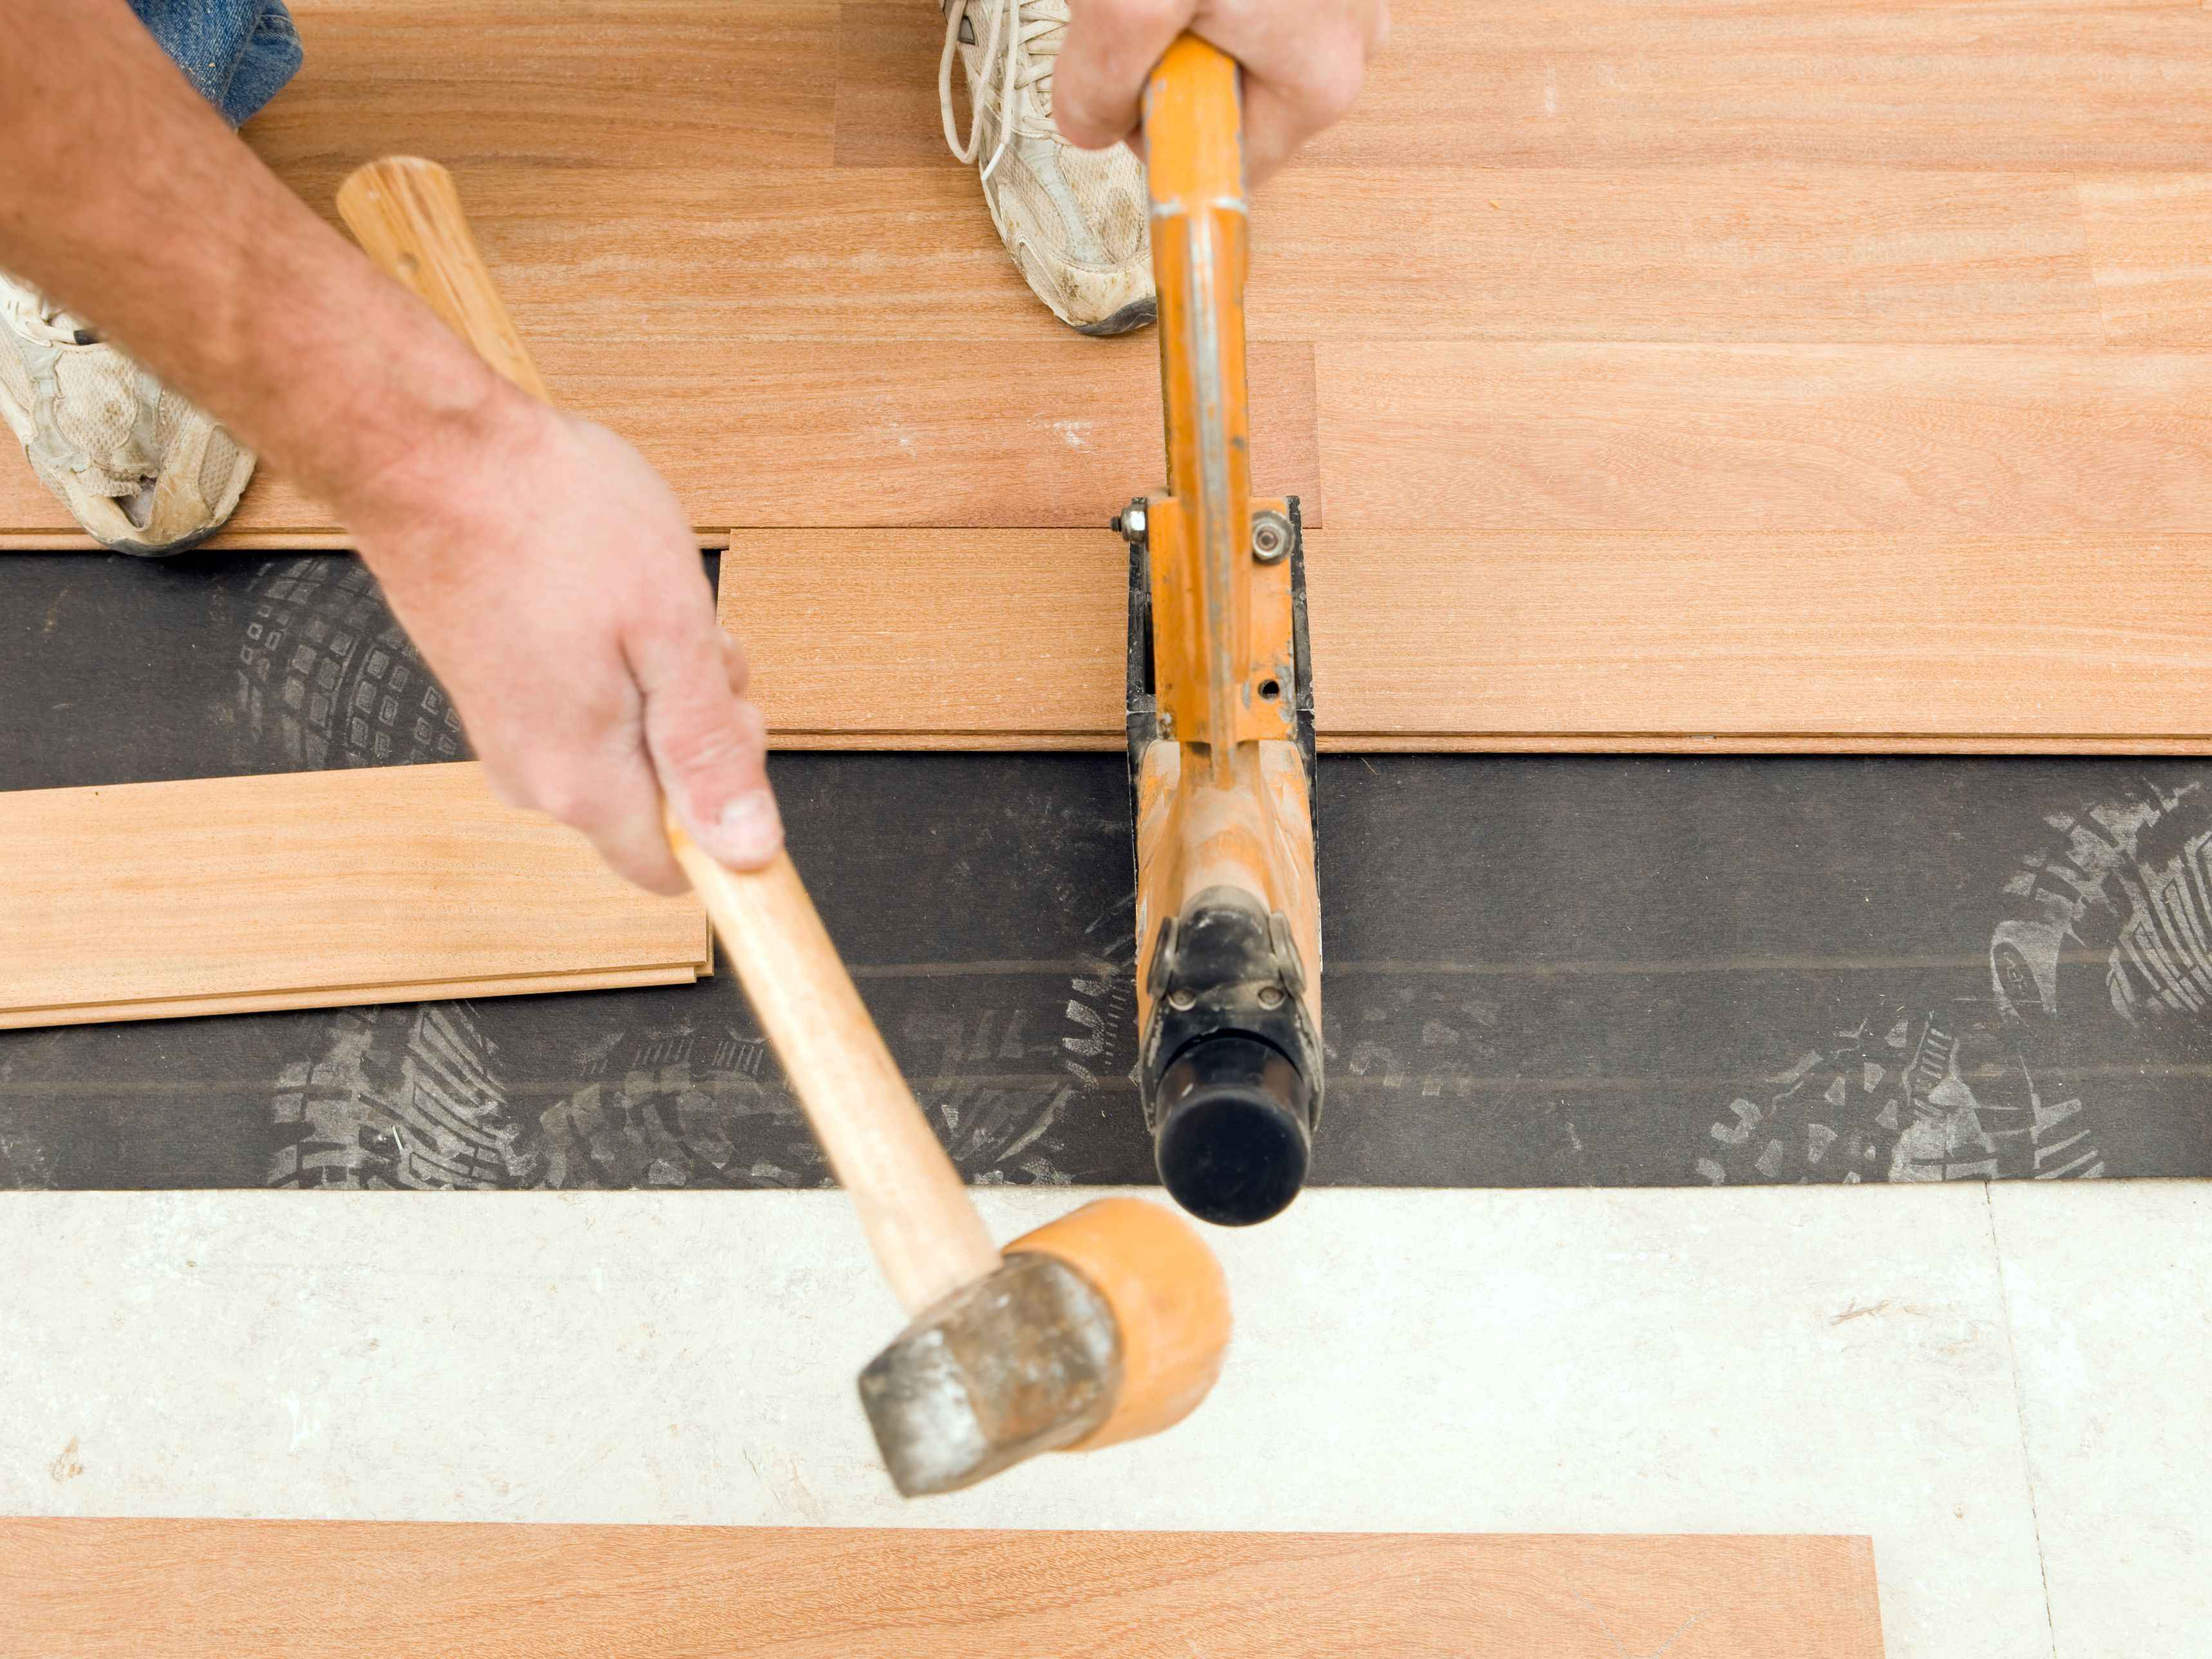
Now that you have found a great starting point it's time to install. Load up your nailer and switch on the air compressor, it's time to get the party started. As you lay down the planks you should always keep in mind to stagger the joints and never get the seams to close together. This will help strengthen the floor and provide that professional look you are aiming for.
Once you reach the last several rows you many no longer be able to use your flooring nailer and you will need to nail the boards using alternative methods. So it will be a good idea to have some wood putty on hand in case you need to cover up those nails in that area. Ideally, you should try to drive the nails in the same idea that the flooring nailer positions the nails/staples, but that is not always possible.
As you can see installing hardwood floors, in theory, is not very difficult if you understand that most of your work is in the preparation. If you have a great plan of action that is mapped out well, it's very likely you can install floors like a pro. Good luck with your project and be sure to comment below on how your project turned out.
In our opinion, the most important step to a professional-looking install is finding the right starting point. If you just start anywhere without consideration to where the floor covering will end up it might not meet your expectations visually. Marking off your floor and doing a dry run is a common practice among the top professionals. Every project will have a unique starting point. Keep in mind that if you running parallel to the walls you would want to keep the flooring as square as possible to create a professional-looking install.
Now that you have found a great starting point it's time to install. Load up your nailer and switch on the air compressor, it's time to get the party started. As you lay down the planks you should always keep in mind to stagger the joints and never get the seams to close together. This will help strengthen the floor and provide that professional look you are aiming for.
Once you reach the last several rows you many no longer be able to use your flooring nailer and you will need to nail the boards using alternative methods. So it will be a good idea to have some wood putty on hand in case you need to cover up those nails in that area. Ideally, you should try to drive the nails in the same idea that the flooring nailer positions the nails/staples, but that is not always possible.
As you can see installing hardwood floors, in theory, is not very difficult if you understand that most of your work is in the preparation. If you have a great plan of action that is mapped out well, it's very likely you can install floors like a pro. Good luck with your project and be sure to comment below on how your project turned out.
FIND A PRO IN YOUR AREA
Featured Articles


Leave a comment